|
At the onset of the zombie apocalypse, Lee Everett rescues young Clementine, and they join other survivors in Macon, Georgia to survive the undead onslaught. There are five Tough Decisions noted in the walkthrough below. The choice you make will directly affect the events of future episodes. 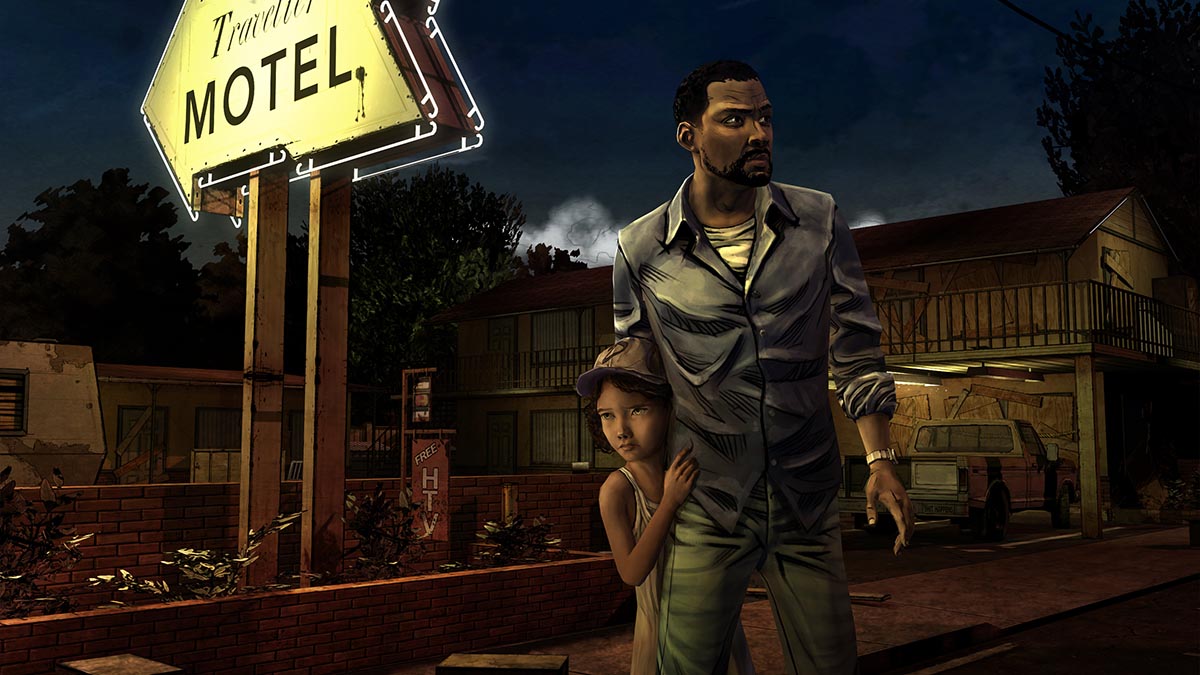 CHAPTER 1: PROLOGUE ⭐ Look at the mirror to talk to the cop. ⭐ Check the body through the broken window. ⭐ Turn right and kick out the window. Climb out. ⭐ Approach the officer and take the keys on his waist. They will drop once, but you can pick them up and point at your cuffs to unlock them. ⭐ Back away and, when you hit the car, look to the right to pick up a shell. Look to the left to pick up the shotgun. Pick up the shell once more. Aim for the head and fire as soon as you can. CHAPTER 2: CLEMENTINE'S HOUSE ⭐ Walk up onto the back porch and select the back door. Open it. ⭐ Pass the kitchen and activate the answering machine. ⭐ Enter the kitchen and open the middle drawer to find the walkie talkie. ⭐ Aim at the babysitter's head to kick her. Repeatedly pass the cursor over her and kick her when you find a target. ⭐ When you get to the door, look behind you and pass the cursor over Clementine. Use the hammer to finish off the babysitter by targeting her head. ⭐ Choose whether you want to leave during the day or night. Day Option: ⭐ Approach the front gate and meet Shawn Greene and Chet. ⭐ It is preferable to tell the truth, as lying here will earn you a lecture by Hershel Greene ⭐ Select the car hood repeatedly to move it. Night Option: ⭐ Approach the front gate and meet Shawn and the Sheriff's deputy. ⭐ Talk to them and they will take you to Hershel's Farm. CHAPTER 3: HERSHEL'S FARM ⭐ Converse with Hershel Greene. ⭐ Converse with Clementine in the barn. ⭐ In the morning, meet Kenny and Duck. ⭐ Talk to Kenny at the truck to learn about his boat and plans. ⭐ Talk to Clementine on the porch to learn about her background. Talk to Katjaa to learn about her and her family. ⭐ Talk to Shawn by the fence to cut wood and learn about him. Tough Decision 1: ⭐ Go to the barn and talk to Hershel. It's difficult not to lie to Hershel, but your honesty is noted by the game. Tough Decision 2: ⭐ At the fence, choose whether to save Duck or Shawn. ⭐ Shawn dies anyway, regardless of your choice, but your choice will affect your relationship with Kenny. ⭐ The best thing to do here is to save duck. ⭐ Talk to Hershel and Kenny. Kenny will still offer a ride to Macon no matter what you say. CHAPTER 4: EVERETT PHARMACY ⭐ Meet Lilly, Larry, Doug, Carley and Glenn. Tough Decision 3: ⭐ In the standoff over Duck, you can further loyalties with Kenny or the new group. ⭐ The walker in the bathroom will go for Clementine. Focus on her when you fall down and you can select her to save her. ⭐ Talk to the new group. ⭐ When you gain control, grab the Energy Bar behind Carley. There's another Energy Bar past Kenny's family, and another in the Shaving Needs section past Lilly and Larry as you walk around the room counter-clockwise. You can give one to Duck if you wish to build trust with Kenny. ⭐ Talk to Lilly to find out about the fate of the pharmacy owners. ⭐ Pick up the radio Carley is working on. Twiddle the dials. Flip the radio over. ⭐ One battery is against the wall behind the greeting card rack. ⭐ Another battery is on the floor. Return to Carley with the batteries. You can then reorient them in the radio to get it working. ⭐ Enter the 'Employees Only' door. ⭐ Move the wooden pallet and the desk blocking the office door. ⭐ When Clementine cuts her finger, look for the first aid kit, a red box on a shelf to the right. You can bandage her finger by returning to her. ⭐ Now you can examine a picture on the ground to have a conversation with Carley. ⭐ Examine the television above the first aid kit, high above the shelf. You can find the remote in the drawer under Clementine. It won't work on the TV, but it will come in handy later. ⭐ Glenn should call back when you exit the office. ⭐ Head back inside and talk to Carley. CHAPTER 5: THE MOTEL ⭐ Lean to the left and pick up the pillow just on the other side of the wall. ⭐ Look to the right and choose to run to the truck. At the truck, you can't get in the window. Instead kill the zombie leaning against the nearby car by peering around the truck and selecting the pillow icon while looking at the zombie. ⭐ Open the car door next to the zombie you just killed and take the spark plug. ⭐ Move the gear shift. ⭐ Return to the truck. Use the spark plug on the window to get the icepick. ⭐ Return to the motel sign where you started the area. ⭐ Look over the wall and highlight the zombie and choose the icepick option. ⭐ When you get near the zombie, pass the cursor over its head QUICKLY until it turns orange. Stab it. ⭐ From the RV, you can peek around the side and activate the icepick on another zombie. As it comes at you, you will need to stab it TWICE by carefully passing the cursor over its face. ⭐ Return to the car where you found the spark plug and push the car to trap the zombie. Now you can use the icepick one final time on the trapped zombie by the fire axe. After its dead, take the fire axe.' ⭐ Approach the zombies until the first one recognizes you. Let it come to you, aiming at its head. Swing when it gets extremely close and the cursor turns orange. Do the same for the second walker. Tough Decision 4: ⭐ Make a tough decision: Decide whether the girl uses your gun or not. No matter what she will die, but depending on your decision you will anger Glenn or Carley. CHAPTER 6: THE KEYS ⭐ Once back at the pharmacy, talk to Doug to go outside. ⭐ Note Lee's brother with the keys, to the far right, the brick on the ground, and the combination lock on the door. Look at each one. ⭐ Try to use the remote on the televisions to the far left. After this, hand it to Doug and he will use the remote to turn on the TVs. ⭐ First, knock off the lock with the fire axe. ⭐ Push open the door and grab the brick. ⭐ Throw the brick through the window of the TV store. ⭐ Run to Lee's brother. You'll have to hit him with the axe a few times to retrieve the keys. ⭐ Use the keys on the door in the pharmacy office. ⭐ It should be noted here that, that keys aren't necessary for gaining entrance into the pharmacy, you can use your axe to break in ⭐ Either way though an Alarm will go off by using the keys or by breaking in with the Ax CHAPTER 7: THE ESCAPE ⭐ Keep selecting the door to block it from the incoming zombies. You have to pay attention to the icon on the door to make sure you are blocking it with the right actions. Tough Decision 5: ⭐ After Clementine helps block the door, you'll have to choose between Doug and Carley. Choose the person you want to save. ⭐ Hit the zombie attacking Clementine a few times. ⭐ Run towards the door. ⭐ Grab Kenny's hand. EPILOGUE: THE MOTEL ⭐ Talk to everybody to wrap up the episode.
0 Comments
After having secured a motel, Lee and the other survivors are running low on food, and decide to take an offer made by the St. Johns, a family that owns a nearby dairy farm. They come to learn the St. Johns may not be what they seem. There are six Tough Decisions noted in the walkthrough below. The choice you make will directly affect the events of future episodes. 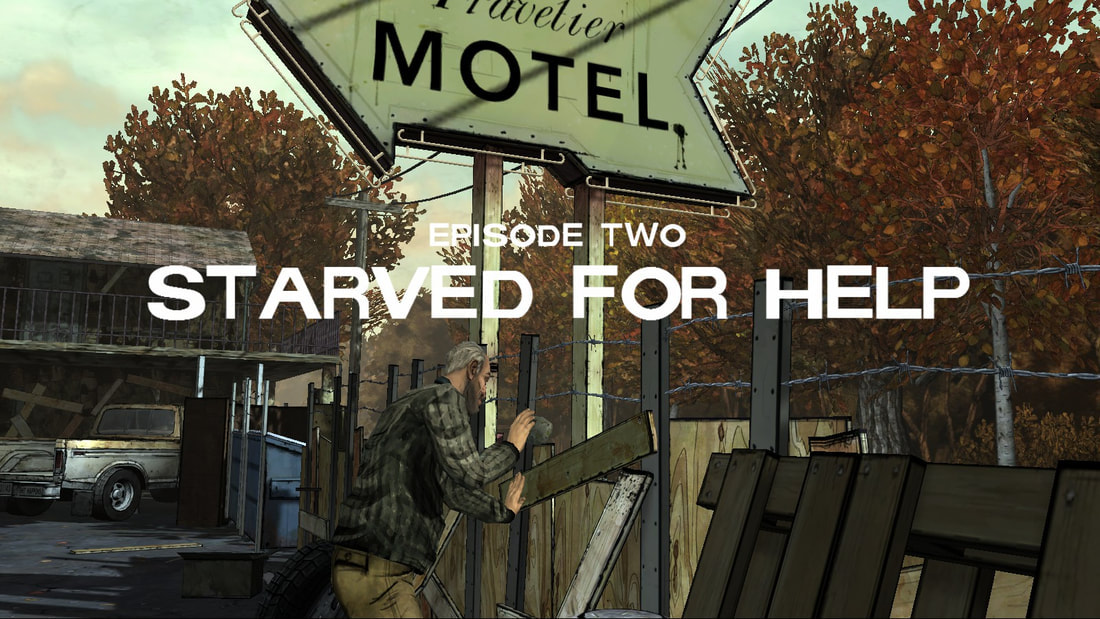 There are six Tough Decisions noted in the walkthrough below. The choice you make will directly affect the events of future episodes. CHAPTER 1: THE WOODS ⭐ Click on the crouching Walker to kill it with Lee's axe. ⭐ You will then be introduced to a new character, Mark. As they walk together, Lee talks to Mark. You can decide to side with Kenny or not at this point, and you can also comment on Lee's relationship with Larry, or not. Mark will then spot a bird in a nearby tree. At this point you can: ⭐ Stop Mark from shooting the bird ⭐ Let Mark decide whether to shoot the bird or not ⭐ Urge Mark to shoot the bird Tough Decision 1: Chop David's Leg Off/Leave Him To Die First Outcome - At the urging of everyone around him, Lee tries to release David from the beartrap but the only way to free David is to chop his leg off using Lee's axe. Second Outcome - If you leave David behind, or don't get the beartrap off within a set time period, he will be left behind to be eaten by the Walkers. Starting to panic, Travis will then lunge for Mark's gun, resulting in him accidentally being shot. The group then takes the wounded Travis, and Ben Paul, back with them to the Motor Inn. CHAPTER 2: THE MOTOR INN ⭐ Discuss the survivor with Kenny, Lilly and Larry. ⭐ Talk to Clementine about her hat, which she reveals has gone missing. You will then have to make a decision about who to give the food to: ⭐ Doug will refuse food because of Lee saving him in the previous episode. ⭐ If Doug survived episode 1, he will be seen rigging up a system of bells on the barricade of the motel. ⭐ It is also possible at this point to give food to Carley, which will strengthen the relationship between her and Lee. ⭐ Lilly will initially refuse the offer of food, but can be convinced by saying 'Take it anyway.' after she refuses. ⭐ Katjaa will refuse food, insisting it is given to Duck instead. ⭐ Kenny will also refuse food, asking Lee to see to his boy first. ⭐ Mark and Larry will both take food from you, and will also ask to lend Lee's axe. Depending on who you give it to, the scene will change slightly later. ⭐ Both Clementine and Duck will accept food. ⭐ If Duck has been fed, it is possible to give food to Kenny as well. Doing so will convince Kenny that Lee is worthy of a place on the RV, which they are planning to use to leave the motel. ⭐ When down to the final piece of food, Lee can decide to either keep it for himself, or distribute it amongst the survivors. The group will notice if you keep it for yourself. To Save Katjaa: ⭐ Click on the walker's head. Do this twice more to knock it down onto the truck with Lee. ⭐ You will then have to click its chest twice, once again on the head and also swing it to the side so it can be killed by one of the survivors. CHAPTER 3: ST JOHN DAIRY On the way there Lee can: ⭐ Talk to Doug/Carley on the way to the farm. Their responses are different depending on the character. ⭐ Talk to the dairy farmers. They seem to show an interest in your group. Lee can either give up the information voluntarily or be more secretive. They will also ask Lee about his past, which will affect a scene in the future. Mark and Lee will remain behind at the dairy, where there are several things you can do: ⭐ Head for the broken swing and you can offer to fix it. ⭐ Investigate the board and saw along the fence at the front of the house. ⭐ Walk up on the deck and you can get a rope from a trunk. Saw the boards. You can also knock on the door and talk with Brenda at this point. ⭐ Investigate the electrical fence. You can also examine the picket fence near the house and Lee will comment on its sharpness. ⭐ Talk to Andy by the generator and he will offer you some work. If you listen closely to the bandits at this point they will shout about having 'an arrangement', which is a reference to the plot later on. To get to the gate: ⭐ Move to the back end of the tractor and pull up the farming equipment out of the ground. ⭐ Move back to the front of the tractor and examine the front. A block is wedged under the front wheel, so interact with it to remove it. ⭐ The tractor will then start to move. Make sure you follow it along by controlling Lee - this part is not controlled by the game. ⭐ The tractor will then be stopped by a Walker. Move to the front of the tractor and Lee will move it out of the way. ⭐ Keep moving with the tractor. ⭐ Another Walker is in the way. Interact with it again, and this one will suddenly come alive. Keep pulling and the Walker's torso will come away from its body, with Lee throwing it away. ⭐ The two then progress further down the road, pursued by the dismembered torso of the Walker. They eventually reach the gate just in time, and manage to get back to the dairy. Lee can then decide to either immediately go with Danny to the woods to locate the bandit camp, or can alternatively stay and interact with the other characters. It is recommended that you do the latter. ⭐ Talk to the survivors from the motel and the dairy farmers about the bandits. ⭐ Approach Clementine at the swing. She will ask Lee to push her, which you can either refuse or agree to. If you agree, Lee will be able to talk to Clementine and affect her feelings, including giving her hope. Walk around to the far side of the swing and talk to Kenny. He will put Lee on the spot when they discuss Lilly, and you can side with Kenny. ⭐ Talk to Lilly and Larry on the back porch. ⭐ Go back to the front porch and talk to the dairy farmers. Bandit Camp: Lee and Danny will now arrive at the Bandit Camp. They approach cautiously but it appears to be abandoned. While There: ⭐ Examine the cardboard boxes ⭐ Examine the SaveLots boxes. Lee will move them out of the way and discover a St. Johns Dairy box. ⭐ Danny will remark it is probably there because of the trade between the dairy and the bandits. ⭐ Examine the ammo box near Danny to find a camera. It has no batteries, and Danny remarks that this is 'good'. ⭐ Examine the floor of the tent to find Clementine's hat. You can also find a picture and a stuffed rabbit with blood on it. ⭐ A woman with a crossbow - (Jolene) - will appear. A tense standoff between Lee, Danny and Jolene then occurs, with Jolene referencing many things and appearing to be quite mad. She mentions at one point that she has lost her little girl, providing the right decisions are made. Tough Choice 2: Shoot/Don't Shoot Jolene At this point, as the conversation gets more intense, Lee can decide to either let Jolene live, or can alternatively decide to end her life. If you choose to shoot Jolene, Danny will comment on this and ask you why you did it. St. John Dairy Farm: Upon returning to the dairy, Brenda asks what happens and Danny doesn't reveal exactly what happened at the Bandit Camp. ⭐ To save time at this point, interact with the toolbox where you sawed the swing seat earlier. Take the multi-tool. Barn Door - At this point Lee must find a way to distract Andy so he can remove the lock from the door. To do this, head outside. You should then approach the generator for the electric fence. ⭐ Interact with the panel and use your multi-tool to remove it. ⭐ Turn the power off using the switch above. ⭐ Interact with the belt inside the machine using the multi-tool. This will prompt Lee to remove it, and Andy will come out to fix it. CHAPTER 4: DINNER When Lee enters the house for dinner, he will ask where Mark is. Brenda dodges the question, and Lee asks to be excused so he can wash his hands. At the bottom of the stairs there are some mysterious scratches. Examine them if you wish. There's also a wire going up the stairs, so instead of washing you hands, head quietly up there instead. Follow the cord to a closet door. Interact with the various medical supplies inside to question what is happening. Finally, examine the power cord to switch on a light. Lee sees that the cord is being fed into another room, so head into the nearby bedroom. Once there, interact with the bookshelf to move it out of the way and discover a hidden door. Open it. CHAPTER 5: THE MEAT LOCKER Lee will wake up inside a meat locker. Clementine notices he is awake and comes to speak to him. She remarks that they tried to make them eat a person, and Lee's response will depend on whether she ate the meat or not. Larry, Kenny and Lilly are also inside the meat locker. Duck and Katya are being held by the St Johns. Lee must find a way out. Talking to Clementine prompts Lee to tell her she can help search for an exit. Talking to Kenny will prompt Larry's heart condition to start, and he collapses to the ground. Tough Decision 3 - Help or Kill Larry: As a result of Ben telling the group earlier that dead bodies always come back as Walkers, and knowing they have no way to revive Larry in the confined space in the meat locker, Kenny pushes Lee to decide whether to finish Larry off or not. Lilly insists he is still alive, and it is at this point that Lee must decide to help Kenny or Lilly. ⭐ You must make a decision to save or kill Larry. Even if you help him, Kenny will kill Larry. If you side with Kenny, Lilly will remember. ⭐ If you decide to help Lilly, Lee will try to perform CPR on Larry, only for Kenny to kill him with a salt lick. Kenny will remember this. ⭐ Talk to Clementine. Console her. ⭐ Examine the air conditioning unit. Lee remarks that there should be an air vent behind it. He also says he needs something to remove the screws, and finds that the multi-tool is missing. He remarks that he needs a coin. ⭐ Talk to Kenny if you wish. His response will depend on whether you sided with him or not. You can also ask about his family and talk about siding with him, if you did. ⭐ Talk to Lilly to apologize for what happened. Lee will ask her coins, and also ask if Larry had coins. He also mentions that Larry had mentioned previously that he kept coins, which was an exchange earlier between him and Mark. ⭐ Examine Larry's body. Examine his left pocket. Take the coins. You will also find his wife's wedding ring if you look in the right pocket. ⭐ Remove two screws from the bottom of the AC unit. ⭐ Send Clementine through. CHAPTER 6: ESCAPE You come out in the slaughter room, the area which is now revealed to be the place where they hacked off Mark's legs. This area is filled with weapons, so you have a choice of: ⭐ A hay hook, which is on the far shelf. ⭐ A sickle, on another nearby shelf. ⭐ A mini cattle prod is also available in the shower area. The FATE Of the St. John Brothers: Be prepared to act. As soon as you open the door you'll see Danny pointing a gun at you, so act fast and select the gun to grab it. A sequence will now start. ⭐ The gun will go off, prompting Lee to grab his ears. ⭐ You should then click on Danny and Lee will attack him with the weapon you choose in the previous area. ⭐ Danny will then hit Lee with his gun, and Kenny will knock Danny with the barn door and attack him with a weapon. ⭐ Danny will then walk into the beartrap, which snares his leg. Tough Decision 4 - Kill/Don't Kill Danny: At this point, Lee realizes that the main reason Danny wanted to go hunting the bandits was to track Jolene, with the aim of bringing her back to eat. You now have to decide whether to kill or spare Danny's life. Either action will affect your relationship with Clementine, who bears witness to the event. Danny will also try to convince Lee to see his way of life, constantly stating that he understands now and that Lee can eat him if he kills him. ⭐ If you decide to kill Danny, Lee will impale him with a pitchfork. ⭐ If you decide to spare Danny, Lee will throw the pitchfork into the hay bale instead and will turn away from Danny, who is still trapped in the bear trap. Tough Decision 5 - Kill/Don't Kill Andy: ⭐ To kill Andy, you either have the choice of shooting him in the head, or kicking him into the fence. ⭐ If you decide to spare his life, Andy will be left behind, and is believed to be killed by the Walkers that attack the dairy. CHAPTER 7: THE ABANDONED CAR Katjaa will give Lee back his camcorder that he found at the bandit camp. Kenny will then talk to Lee, who states that there will be fallout based on what happened to Larry. In order to improve your relationship with Kenny you can side with him, or choose to more ambivalent. If you have a good relationship, Kenny will offer to give Lee a spot on the RV. Clementine will then ask if Lee had to kill those men, and you can choose a response that affects her opinion of Lee. The group will then hear a noise and find an abandoned car. You can choose to be friendly or aggressive as you approach. The car is absolutely full of supplies. The group must then decide whether or not it is a good idea to take them, prompting another tough choice. Tough Decision 6 - Take/Don't Take the Supplies: Lee must decide what to do with the supplies. Lilly and Clementine don't want to take them, while Katjaa and Kenny do. |
ABOUTA five-part adventure horror series set in the same universe as Robert Kirkman’s award-winning comic book series. ArchivesCategories
All
|
 RSS Feed
